
Candytop was upgraded in July 2015. This upgrade was a long time coming, but it wasn’t until 2015 that I had the money and spare parts to do it. The main change was upgrading the PC to a much newer, faster system and revamping the software to modern standards, but I made a few other changes as well.
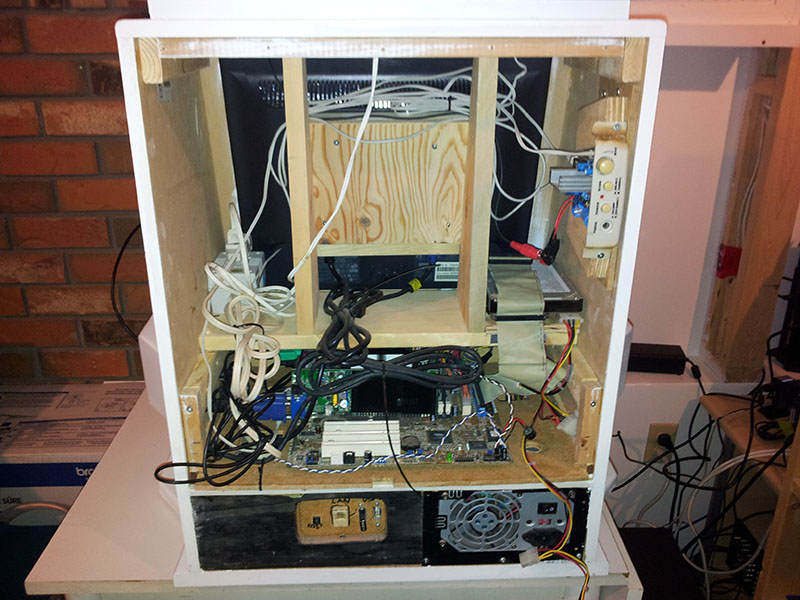
The obligatory “before” pic shows the old hardware and messy interior. Although the motherboard is mounted on a removable tray, it wasn’t easy to get out. The tray has holes, not slots, for cables to run through. I had to disconnect and remove many of the cables before the tray would slide out. The original system is an old Athlon XP 2600+ with 1GB of RAM, a GeForce FX5200, and an 80GB Seagate hard drive.
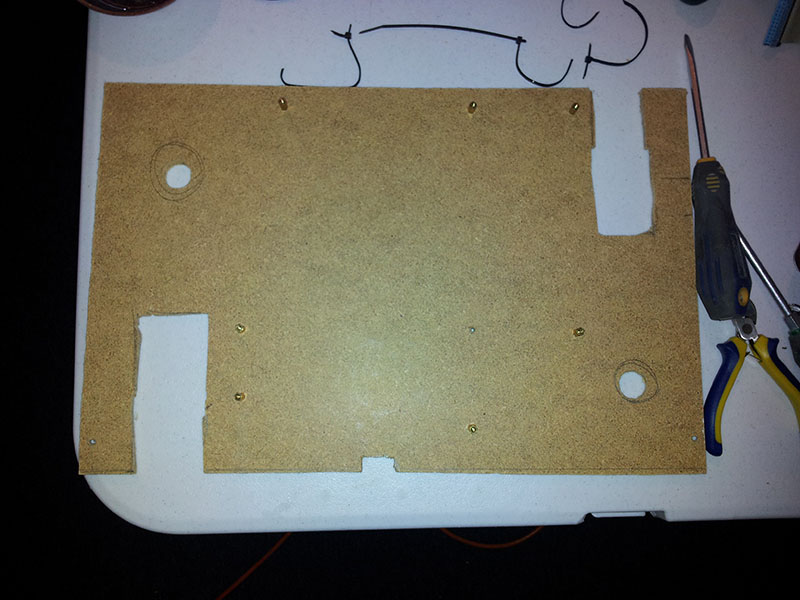
We slotted the motherboard tray so dealing with the cables would be easier. My dad was worried about the strength of the cut tray, but it turned out fine. The round holes aren’t used at all. The new motherboard, despite being rather large by today’s standards, is significantly smaller than the old one and doesn’t use the rightmost set of standoffs.
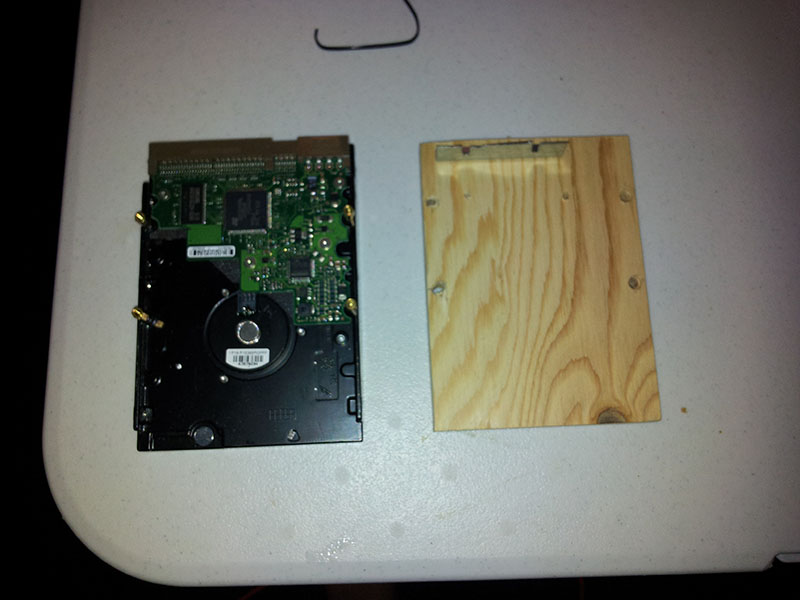
The original hard drive mount was an ingenious creation- I’m not sure if my dad was responsible for it or if I was. Standoffs are screwed into the bottom of the hard drive, which is then bolted into the plywood carrier. The plywood carrier sits up against a metal stop at the end of the shelf and has a bracket which screws into the other side. It’s not necessary at all for the new 120GB Crucial m4 SSD, which was simply attached to the shelf with double-sided tape.
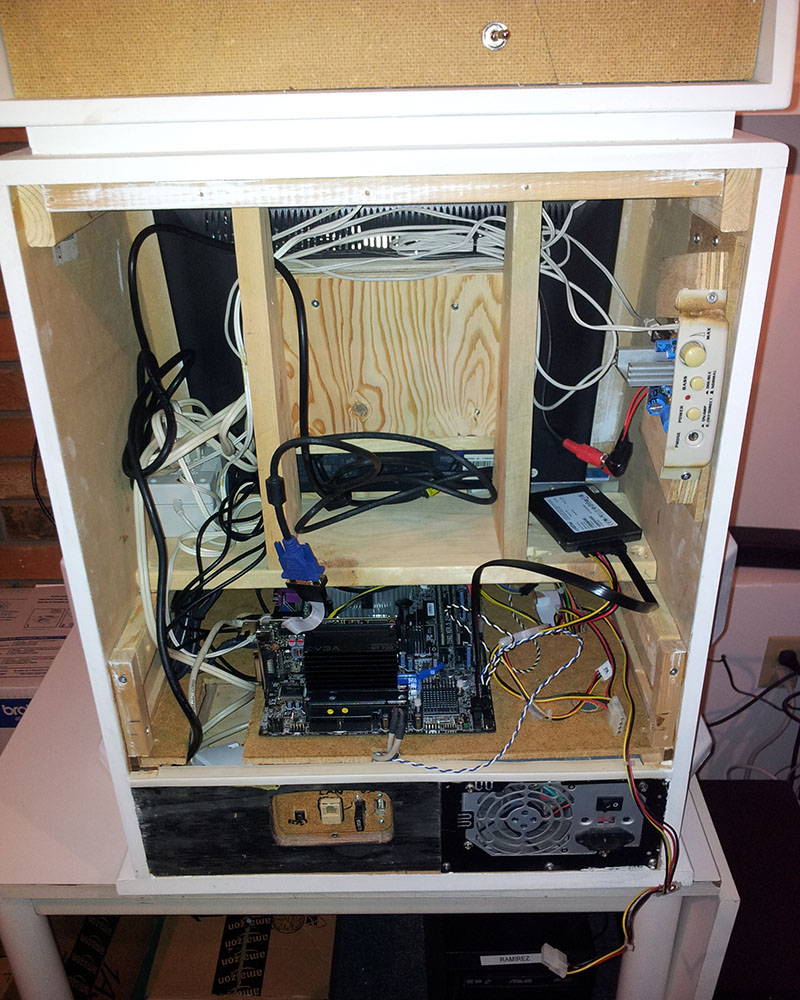
This is actually just partially installed for testing- I made a few changes after this. The new hardware is actually old recycled hardware. The motherboard used to be the heart of my server before it was upgraded to an AMD-based system. I upgraded the processor from the original E6300 to a much faster E8400. For $16 on eBay, why not? The video card is the only new part. Cheap video cards are a poor value these days, but I needed something small and power efficient and the GT 720 fit the bill. It was $50 after a rebate which I don’t think I’m ever going to get. I put 8GB of RAM in because I had an extra stick laying around. The SSD was the oldest one in the house and the only extra one. It’s small, but still bigger than the original hard drive.
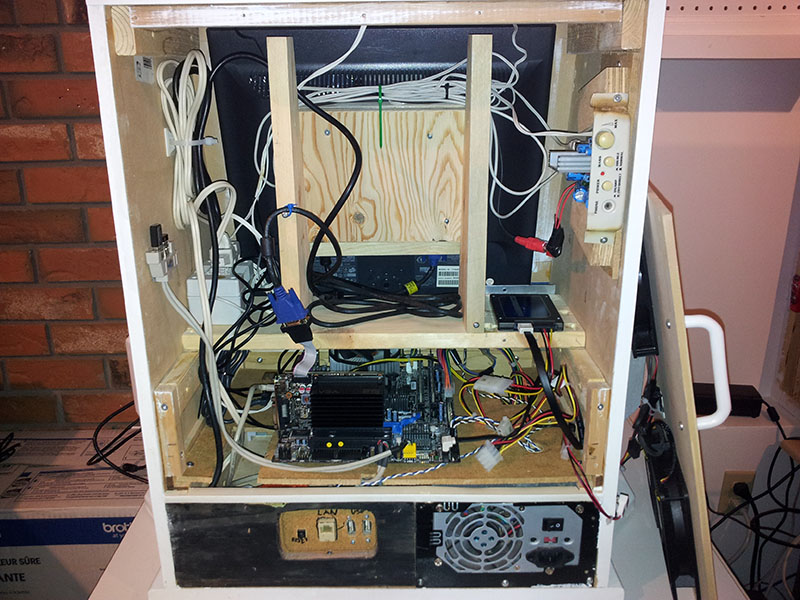
When I reinstalled the motherboard tray, I redid most of the cable management. It’s a lot cleaner now. The power brick on the far left was originally left sitting on the tray, so I stuck it down with double-sided tape. The beige thing halfway up the left side of the cab is a modified USB slot bracket for the wi-fi and keyboard transceivers. Hopefully they’ll get a better signal up there. The monitor cable looks very marginal but it’s actually well supported and sort of floats without putting strain on the videocard connection.
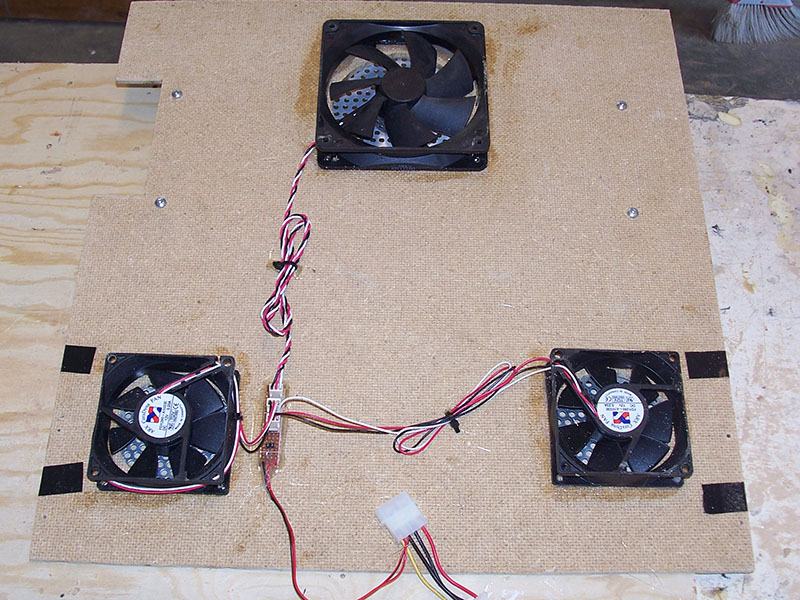
This is another “before” picture. I was never happy with the original fans. The bottom ones are intakes and the top is an exhaust. The layout is fine, but the fans are cheap and noisy. They also rub against the poorly finished holes, which makes them even noisier. You can sort of see the grilles below the fans- the bottoms ones are off an old case and the top one is actually a drain protector.

The new fans are much better. I really wanted a big fan in the 180mm-200mm range with two 92mm or two 120mm intakes, but I didn’t want to buy new fans when I already had a pile of them. The top fan is a 140mm Antec TriCool- I leave it on medium. I didn’t have two matching fans for the bottom, but the Fractal Design 92mm and 120mm are at least complementary. The asymmetrical layout is partially for aesthetics and partially a deliberate choice to provide better cooling to the components. The 92mm is aimed to blow air behind the videocard toward the CPU. I didn’t bother with grilles, mostly to save effort and money on something that won’t really be seen.
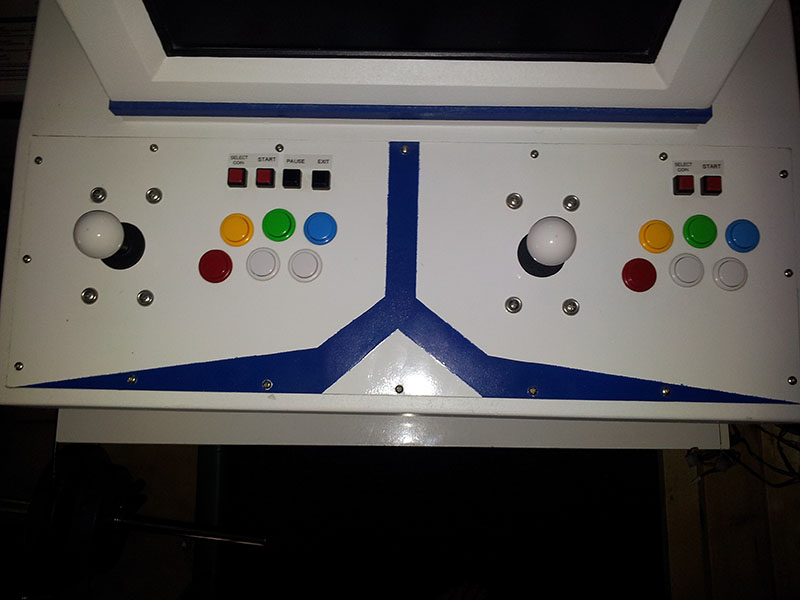
I had intended to label the upper buttons from the very beginning, but it took an embarrassingly long time to actual do it. I knew which button did what, but the unlabeled buttons confused a lot of my friends and family when they tried to play it. The label edges aren’t really that visible to the naked eye, but the alignment really is that bad. These were made with a Brother labelmaker in about five minutes. At some point, the original mounting screws for the panel were replaced with stainless steel ones. The original ones had started to rust, probably because of sweaty palms on them. Fortunately, the joysticks were mounted with stainless bolts from day one.
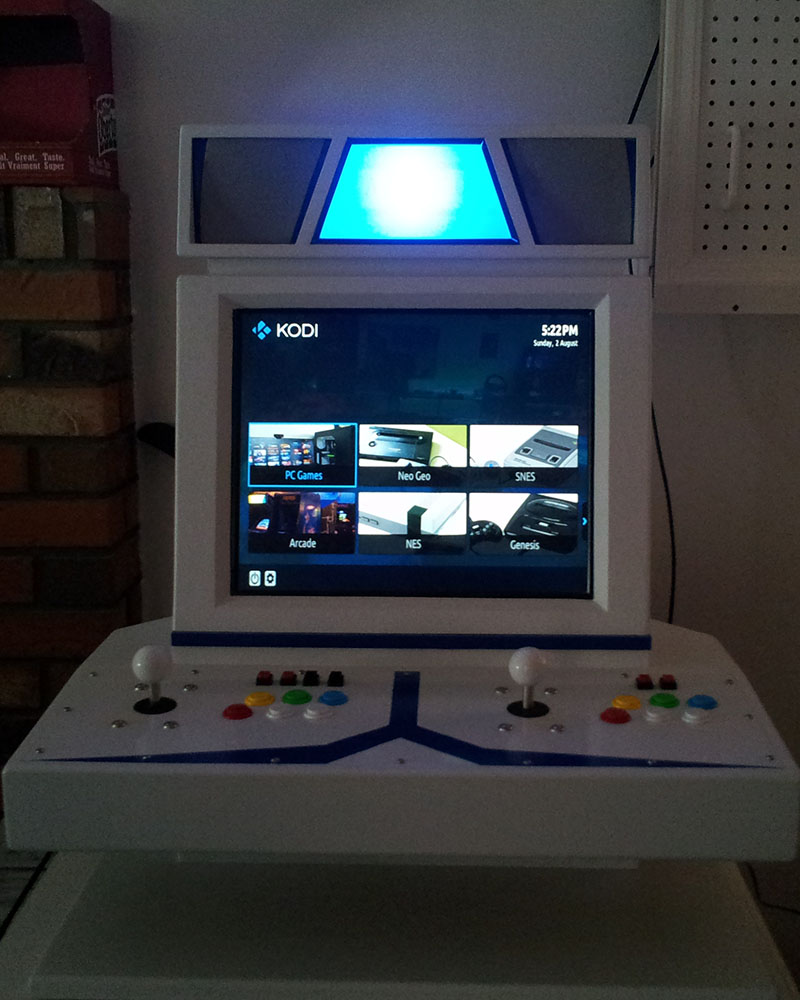
The software part took a lot longer than the hardware part. I couldn’t really reuse much from before because it was so old. I thought about using Windows 8.1 or Windows 10, but didn’t really see any advantage over Windows 7 for this. I chose Kodi with Advanced Launcher as the frontend, but to be honest, this was a mistake. I picked it because I was familiar with the software, but had nothing but problems. I lost all my progress once and it still doesn’t work properly. I also ran into issues with emulators that didn’t like the new OS and had to be updated to newer or different ones. I didn’t improve my games library much- there are a few new PC games, but the ROM collection is mostly the same.
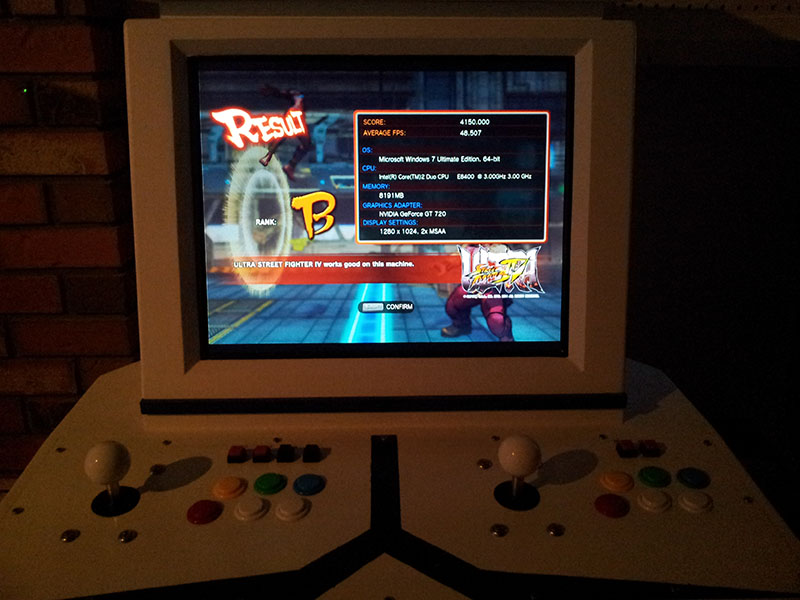
Overall, the upgrade has significantly improved the experience. And I can finally play Street Fighter IV on the cab, something I’ve wanted to do since before it was built.