
This part of the worklog is going to be a bit more text-heavy with less pictures than the rest, since there’s a lot less to show and a lot more to talk about. Please bear with me for the time being.
I knew webPC wouldn’t be the last conversion even before I finished it. The G3 Blue and White is one of my favourite Macs appearance-wise, but I didn’t think I’d ever get to do one because they’re quite rare where I live. So when one came up on Craigslist in July 2014, I jumped on it. It turns out a local newspaper was dumping a ton of old Macs, and I probably could have picked up half their inventory if I wanted to. I settled for just the advertised G3 and a half-complete G3 they had sitting around- this would be a source of spare parts.
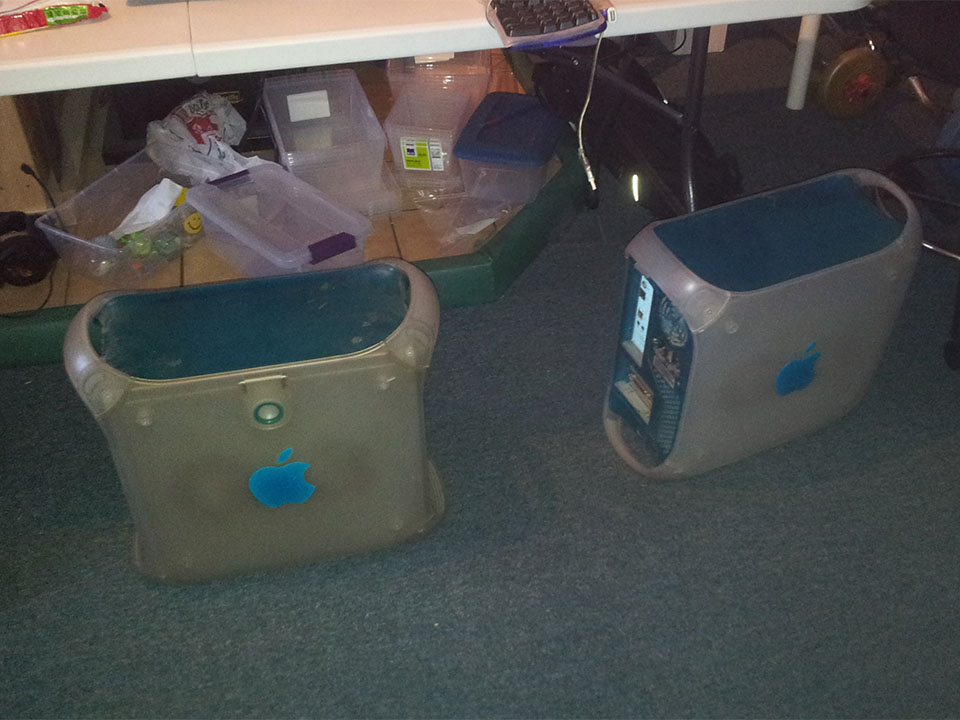
I was busy and the project took a while to get going. Over the next few months, I laid out exactly what I wanted to do with it. I knew about the Laserhive conversion kit at the time, and decided pretty quickly to just buy it and save myself a lot of trouble. It may seem expensive, but it’s only expensive if your time is free! That took care of the side panel and back panel. Similarly, I found premade front panel board replacements on eBay and ordered one. The other things I had to consider were cooling, the power supply, and the optical drive.
The power supply was easy- I had an Antec Basiq 350 sitting around that fits perfectly. A frequent source of problems with G3/G4 conversions was getting the optical drive to clear the motherboard- for this reasons, some conversions use slim optical drives or none at all. Fortunately, technology marches on, and both optical drives and motherboards are shorter than they used to be. Judicious choice of components meant everything would fit. Many builders put one 120mm fan in the bottom for additional cooling, but I played around and found that two would fit. I decided that I would mount them blowing in, pushing air into the case to provide positive pressure and exhaust through existing holes. I was worried about how effective it would be, but it turned out to be no issue at all.
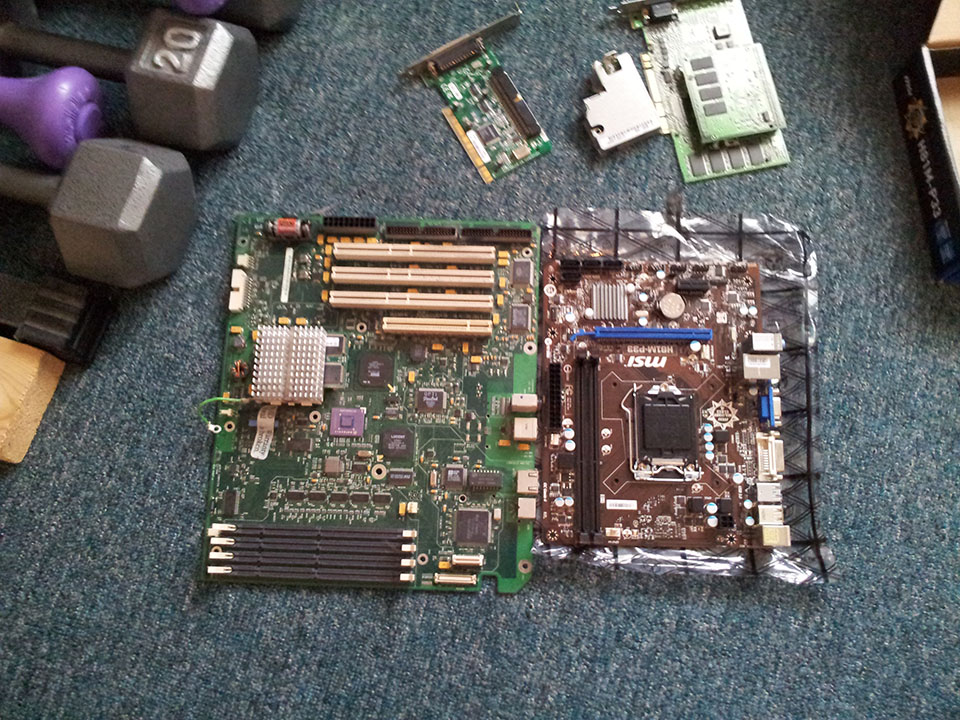
I had an idea of what I wanted to put here from the very beginning- a low to midrange Haswell system with an SSD running Windows 7 (sorry, Hackintoshers). I went with an MSI H81M-P33 motherboard because it’s one of the few motherboards small enough and it was on sale. There’s an ASUS B85 board that’s better and would fit, but it costs about twice as much. Originally, I was looking at the Core i3-43xx series processors rather than the eventual i5 it was built with. I had 8GB of RAM sitting around, as well as a nice short DVD drive. The SSD is a Crucial MX200- like most of the other parts, it was the best deal at the time.
At some point, my dad and I decided that this would become his new PC. That meant a few changes in the design. It needed a hard drive, which we decided to hang under the optical drive carrier frame. Originally, the hard drives mounted sideways in the bottom of the case, so we knew that it would fit sideways as well. He also wanted front panel I/O. I found an original Zip/Jazz drive bezel online that would allow us to simply slot a 3.5″ bay unit in without cutting anything. Am I the first one to use one of these? Finally, we decided to stop looking at i3s and go for the gusto with a quad-core Core i5-4460, making this officially a Power Mac i5. Less poetic, but more powerful.
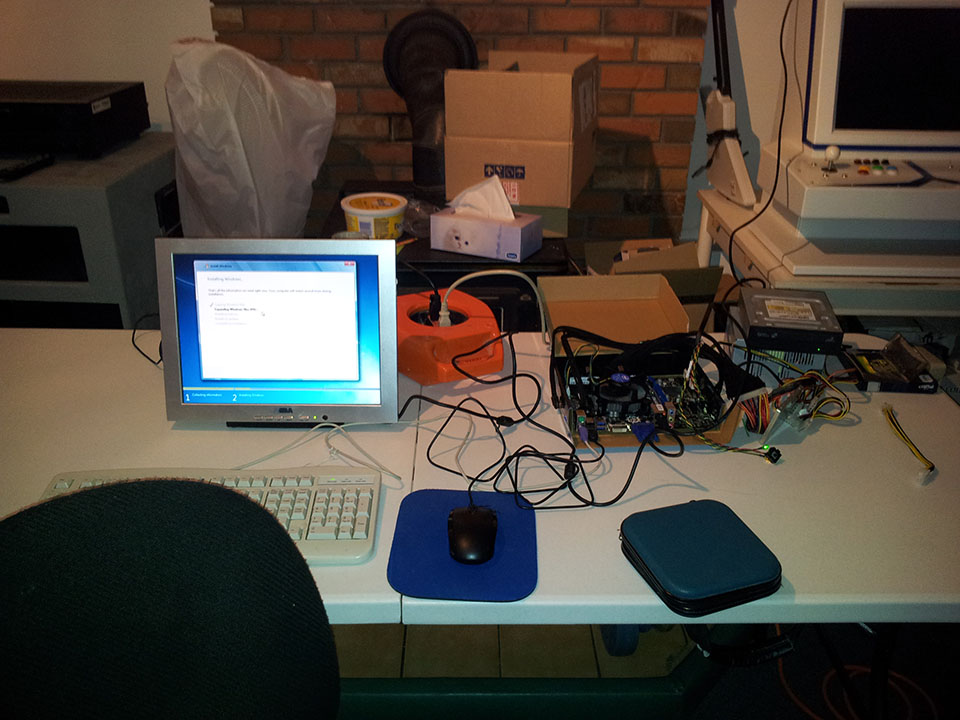
Unlike some of my other projects, we had all the parts before starting to work on the case. In fact, I had the parts connected and up and running on the table to start installing software before any casework began. It was crude, but we really wanted to play with the new hardware. It’s not high-end hardware, but it’s pretty fast.
With the PC up and running, all the parts ready to go, and some free time, it was time to get started on the project.