
The original cooling system of the Power Mac G3 is not terribly impressive, and probably marginal for the new PC. I didn’t want to significantly alter the look of the case, so the only place I could install new fans was at the bottom. Fortunately, there’s space for two 120mm fans down their with the hard drive mount removed. These fans would be configured to blow inward, producing positive pressure in the case and exhausting through existing vents and the power supply. I selected Bitfenix Spectre Pro fans (mostly because I could get them at a reasonable price) and Silverstone fan filters.
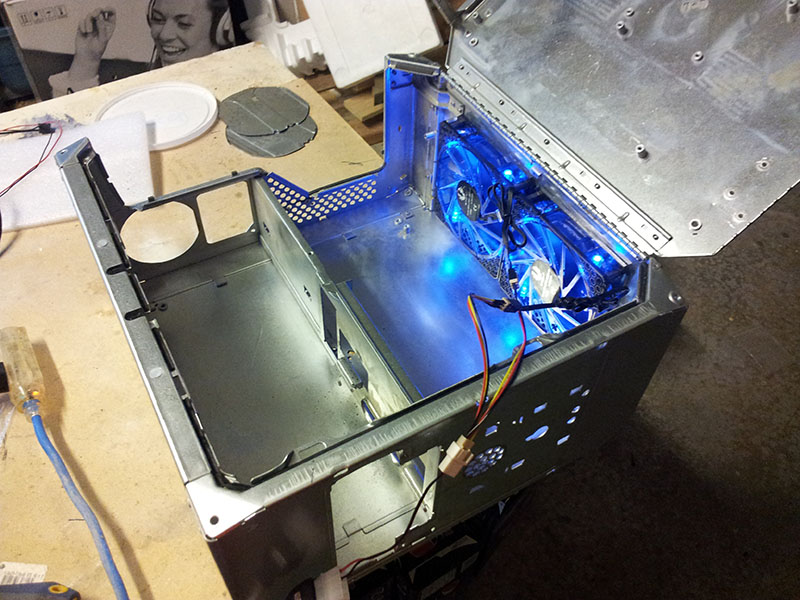
This picture was taken later in the construction process, but is the best photo of the fan mounting that I have. The aluminum angle at the back stiffens the case and covers up the original vent holes on the bottom. In retrospect, the case is plenty rigid without it and the angle was probably unnecessary. It’s held in with tapping screws and No More Nails construction adhesive, a wonderfully versatile adhesive for modding. The screw heads were later covered with heatshrink to eliminate the sharp pointy bits in the case.
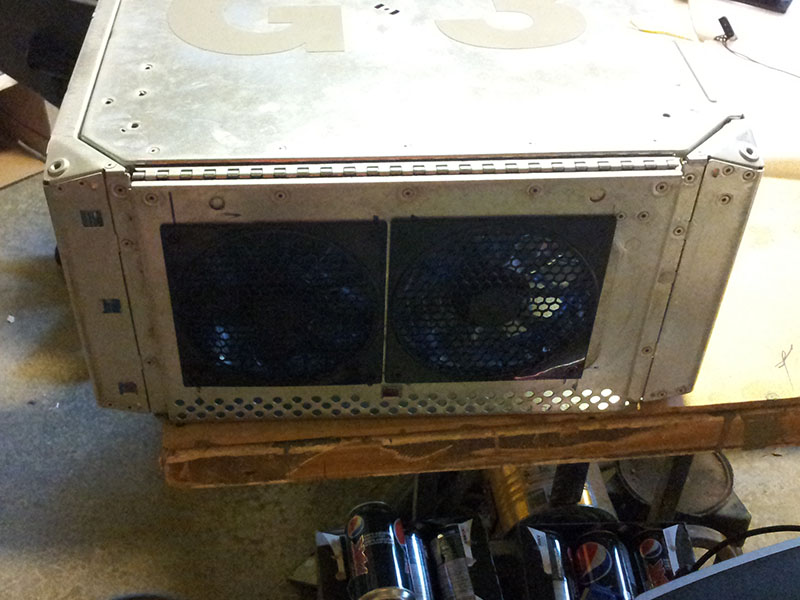
The fan filters not only keep dust out of the case, but also hide the ugly cutting job underneath. I positioned the fans too close together and too close to the back of the case, so I ended up having to grind the mounting holes into slots and grind down one of the brackets in the case. At my father’s suggestion, we cut the holes out with a jigsaw, which worked surprisingly well. The case is made of good steel- it doesn’t cut easily and most of my Dremel bits won’t touch it. The fan mounting isn’t great- the holes aren’t round and the surface isn’t flat- and I would have liked to have rubber silencers or something to fill the gaps, but it’s quiet enough and provides plenty of airflow.
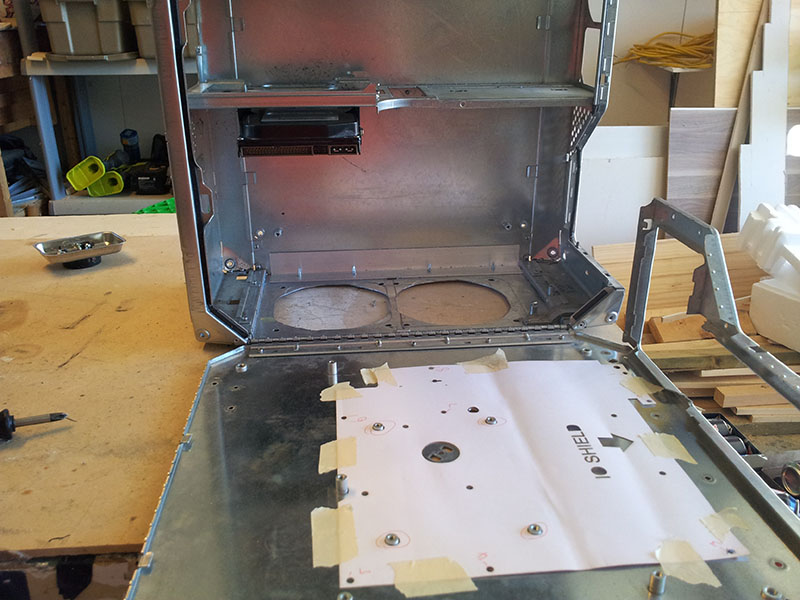
The first thing I did was draw out where the mounting holes had to go- I didn’t get it very accurate. After drilling those holes, I test-fit the fans again and marked out the fan holes for cutting. Finally, with the holes cut, I test-mounted the fans again, adjusted everything, and spun them up. I was worried about having vibration problems with the mounting but it seemed to be fine, so I pulled the fans out and went on to the problem of mounting the hard drive.