
Initially, this machine was only going to have an SSD. Those are so small and light they can go basically anywhere, and I ordered some thermal tape for the purpose. Installing a hard drive required more thinking and more effort. The original drive mounts wouldn’t work, since the fans need to go where they used to be.
The best spot is below the shelf in the middle of the case, under the optical drive. It’s well forward of the motherboard and I had no plans to reuse the speaker that once sat in that space. I looked at many prefabricated brackets and considered building my own before going with this one, modified by bending the outer portion upwards so it forms a U shape. New holes would be drilled in the bottom so the hard drive can be mounted and removed without removing the entire bracket.
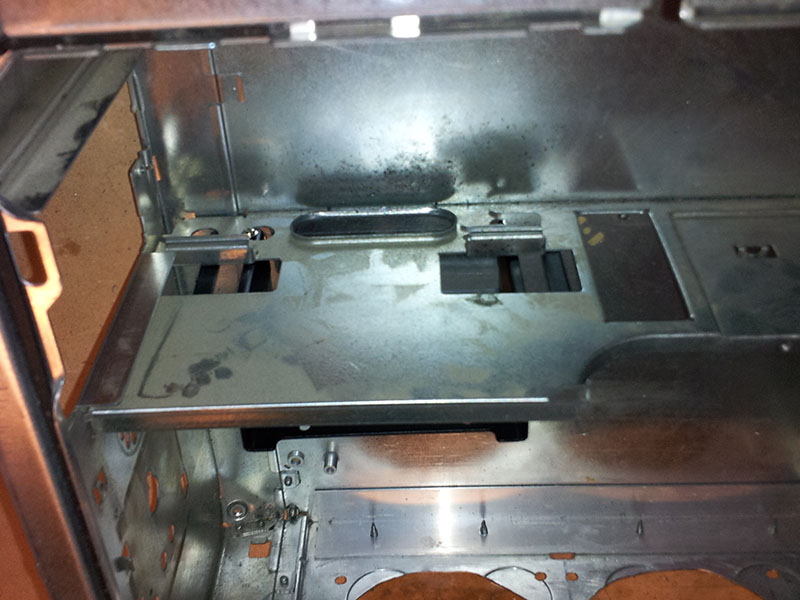
Fortunately, two of the large holes in the shelf lined up with two of the holes in the bracket in such a way that the screws would catch the edges instead of falling through. It’s not secure enough to hold a drive, but it takes care of half the work and makes marking the other holes much easier. Those are just normal optical drive screws with no washers. A short screwdriver is a must!
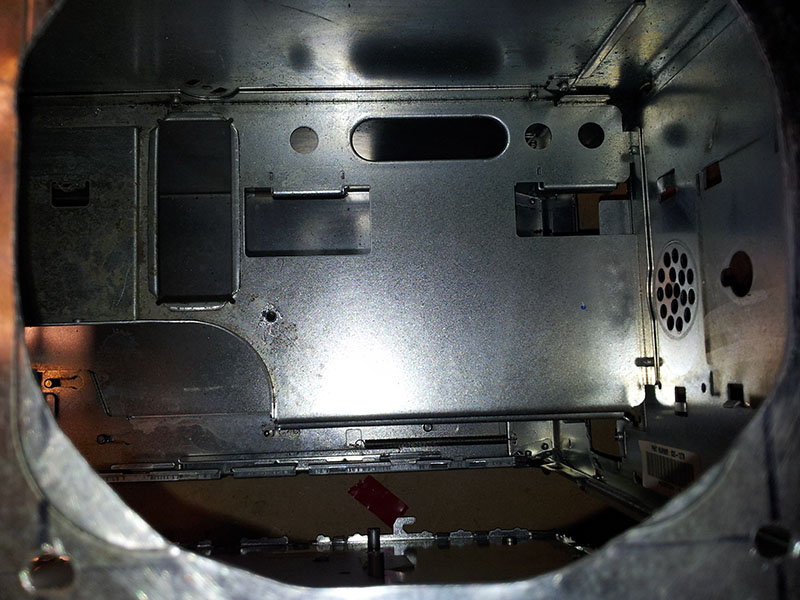
Unfortunately, it didn’t make drilling them any easier. There’s no way to get a drill in from the top or the bottom of the case, so I ended up grinding holes with my Dremel. I could barely get the machine inside- mine is the longer Dremel 4000- and none of the bits were particularly effective. Drill bits walked a lot because I couldn’t get a decent grip, and the diamond bits burned through quickly. I used both in combination. The holes are ugly, but they don’t show. Needless to say, I don’t recommend doing it this way. Get a drilling extension or an angle drill.
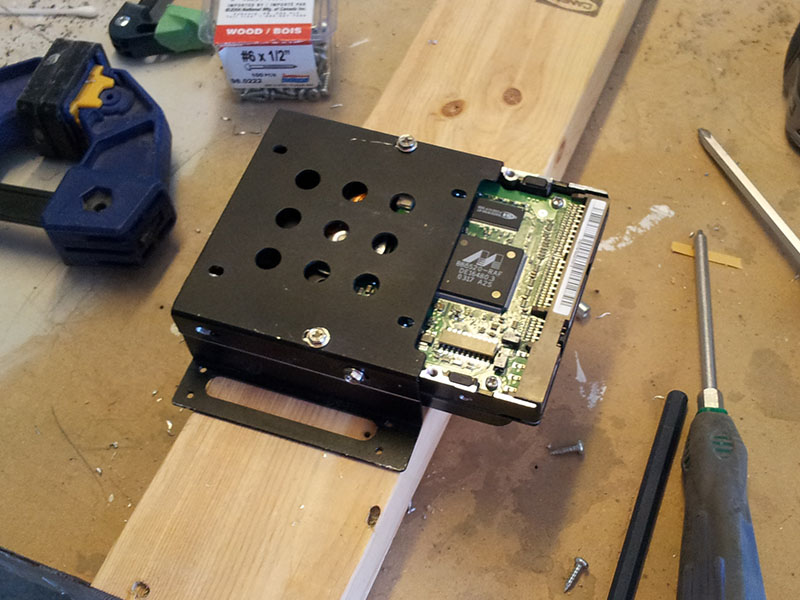
Drilling the holes in the carrier was much easier. The way the positioning worked out, only two of the bottom screw holes actually ended up inside the carrier. This made it very easy to measure and mark using the exposed holes as a reference point, but it’s not very secure. A screw in the side stiffened it all up. That’s actually through one of the original holes, but it didn’t quite line up. I had to slot it out a bit. The bottom holes are also slots to give me some wiggle room. I think I used a drill for this, drilling two holes and then pushing the drill between them. This piece is soft aluminum that cuts easily.
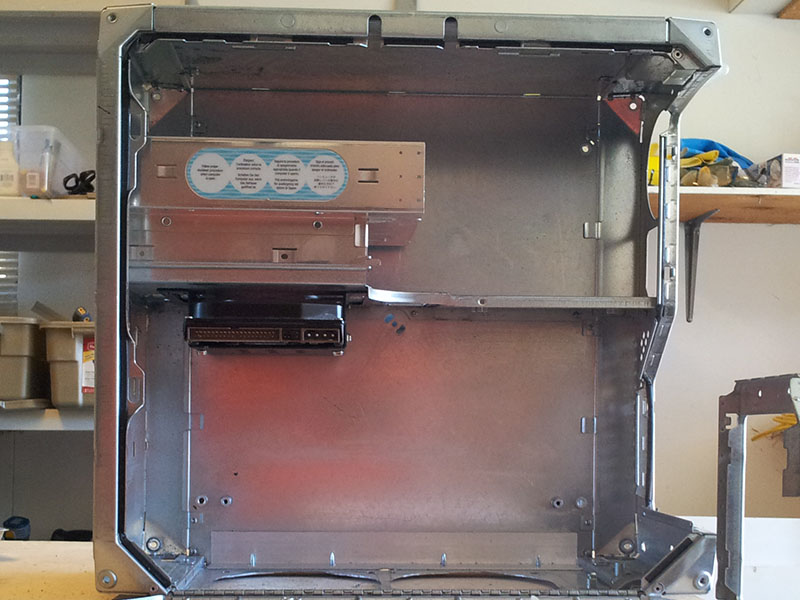
I was worried about clearing the optical drive carrier above, but there’s actually almost a centimetre of space between the bottom of the carrier and the shelf. I was also worried about the front panel assembly, but it’s well below and well forward of the drive. That drive is just a random junk drive. When we tried to install the Caviar Black in the finished machine, it didn’t fit- but that’s a story for another day.