
After the complex and often frustrating case modifications, assembling the system was refreshingly straightforward. Once all the preliminary work is done, it’s only slightly more difficult than assembling a normal PC.
The plastic panels have to go on in a specific order, but most only go one way and they either snap in or screw on. The back panel was a bit stubborn but the other ones went on easily.
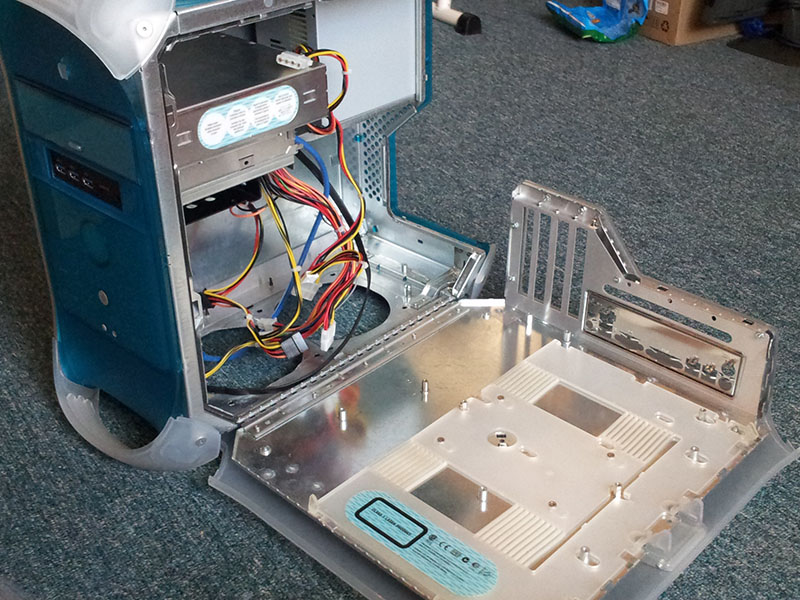
The power supply has to go in before the optical drive carrier. The optical drive carrier just slides in from the front. This is one of the least modified parts- it’s cut down in length and that’s about it. The screw holes are standard and both the Blu-ray drive and the card reader slid right in.

The front panel board came with a cable, but I made my own for two reasons. The original cable is just a rainbow ribbon with single female connectors at both ends, which is annoying to deal with compared to blocks. The second is that it was simply too short for this installation. I made the new cable out of the front panel of an old case and an internal USB connection. This gives me a single block on the front panel end and labelled connections on the motherboard side.
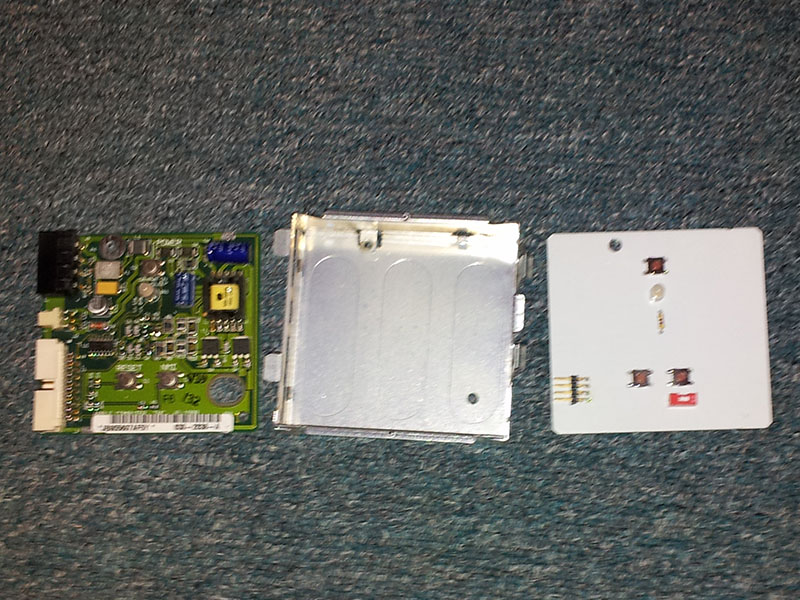
The old front panel board is a complex unit that contains the Firewire voltage regulator. I have no idea why Apple put it there. It’s difficult to modify and many builders use the dimensionally identical but much simpler board from a later Sawtooth G4- in fact, I was searching for such a board when I found the premade solution. There are three buttons on the front of these Macs. The front panel replacement can use the third for CLRCMOS, but I didn’t bother with it.
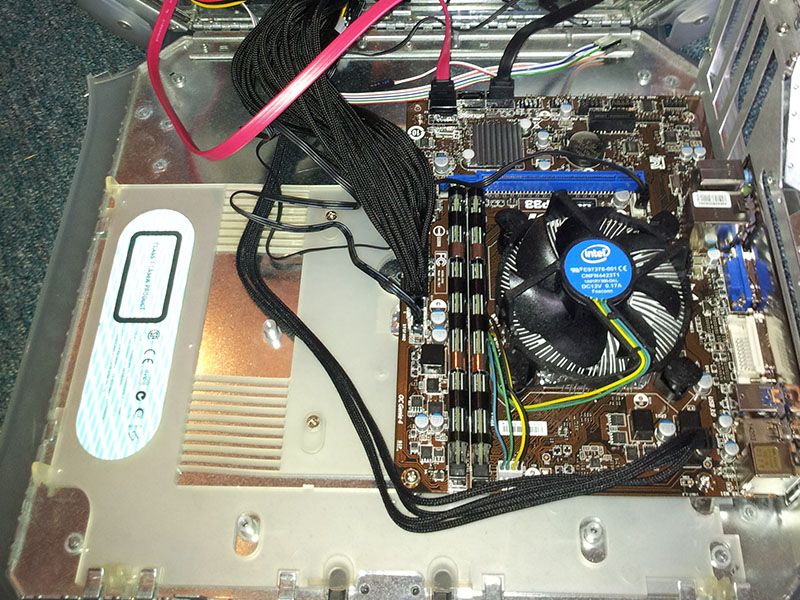
The new motherboard is much smaller than the original, and looks almost out of scale with the rest of the machine. Note the lack of slot covers. The Laserhive kit didn’t come with any- you’re supposed to pull them off the G3, I guess. We had enough between this one and the other parts machine. One could use vented slot covers or leave them out entirely for better ventilation, but we didn’t bother.
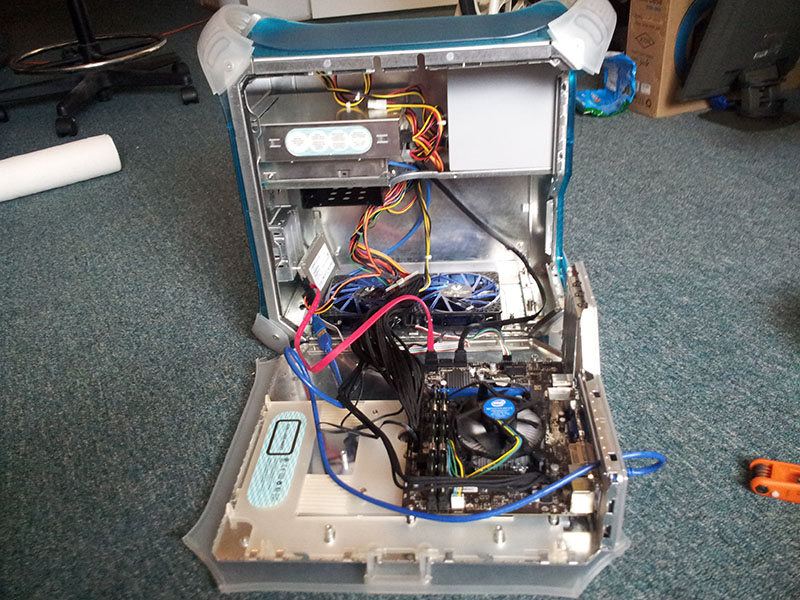
Cable management in this machine can be described as “not as horrible as I was afraid of”. The biggest worry was the giant motherboard power cable. I didn’t have enough length to route it around the fans, but it naturally folds up above them so it’s okay. The few cable tie points in the case were removed in the conversion, but I have sticky cable tie mounts that are very useful for this sort of thing. The power wiring worked out with just about the right cables in the right lengths. I used an extra-long SATA cable for the optical drive but it probably wasn’t necessary. The SSD is loose in the case but will probably be taped to the front panel housing.
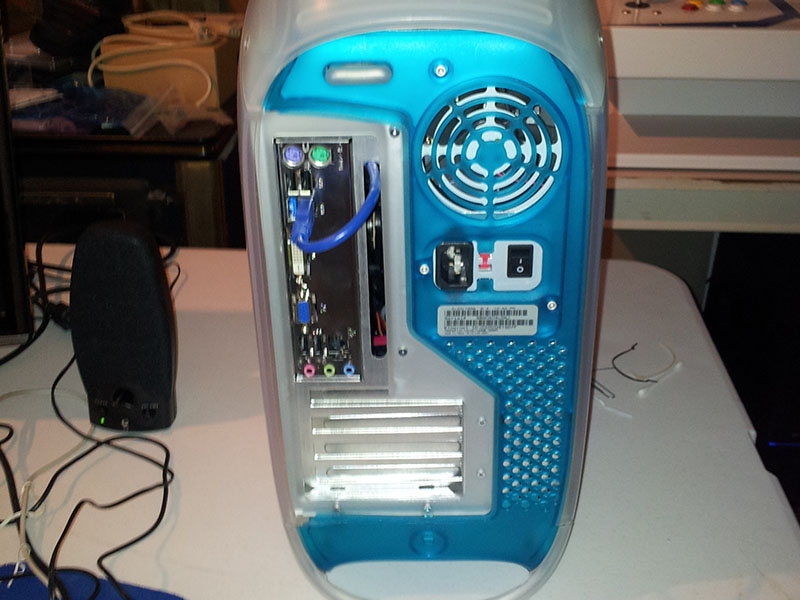
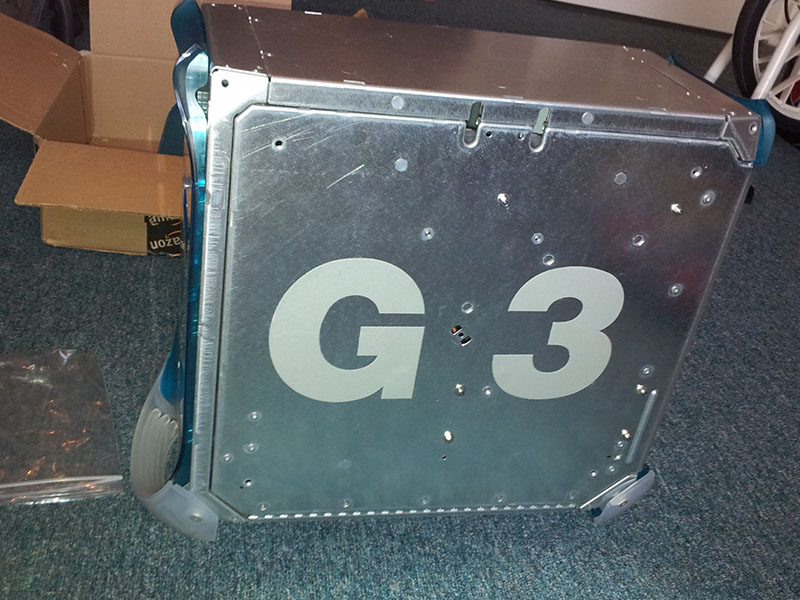
The back panel is clean and elegant enough to appear stock to the uninitiated. The top white piece above the I/O shield is the lockable secondary latch for the case. Ordinarily, this has a spring that keeps it open unless a lock is inserted to keep it pulled out against the tension. Some modders reverse this spring, using this as the case’s main latch. Not only does this latch not interfere with the motherboard like the plastic inner one, it’s also a lot stronger. I simply removed the spring, making this an optional latch that can be pulled out to hold the door more securely or left pushed in for quick access. The slot above the motherboard is the main exhaust for hot air from the CPU.
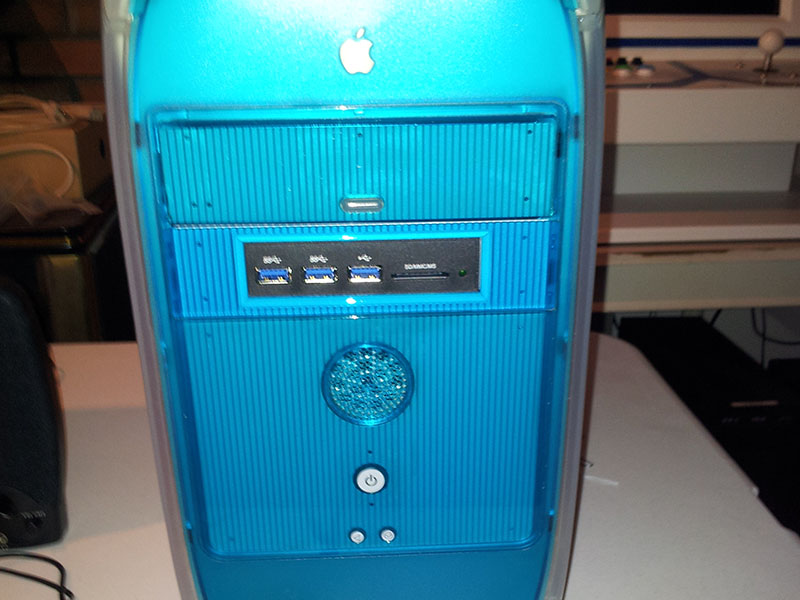
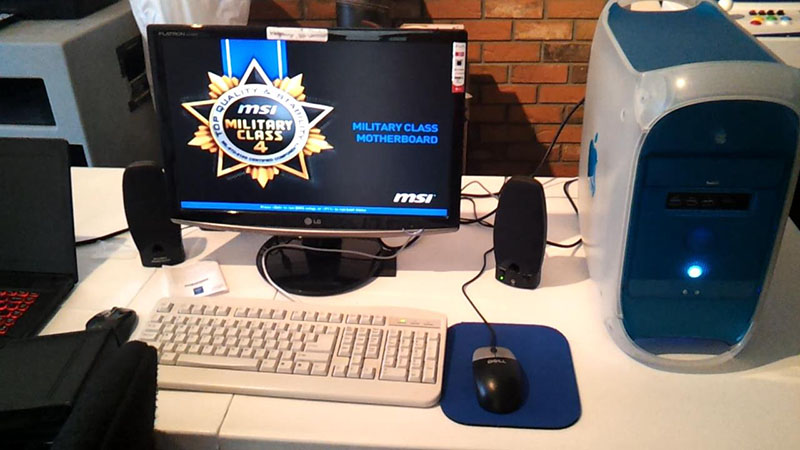
The front is also very clean and elegant. The plastic frame around the card reader The obvious giveaway is the USB 3.0 ports that didn’t exist in 1999, but there are a few other subtle indicators that this is no ordinary G3. The power LED is white instead of green, which I feel matches the aesthetic of the case much better, and there is nothing behind the speaker holes. With the fan LEDs on, a subtle blue glow emanates from those holes.
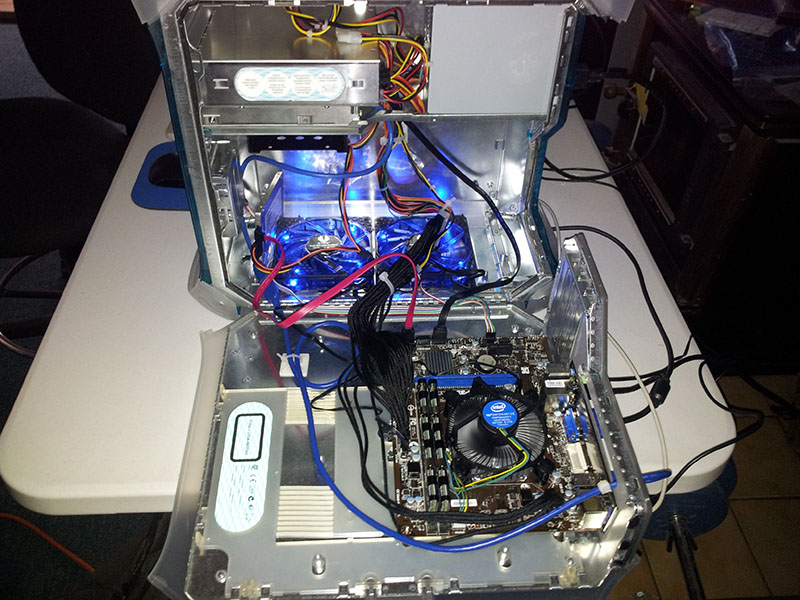
My dad commented that we’d probably rarely open the case after finishing it. I forget why, but we ended up doing so a few minutes after the first boot- it might have been something stuck in one of the fans. It feels almost wrong to open the door with running components on it, but it was designed for this and the new PC should be even more tolerant of it. If I remember correctly, the original cooler relied on the case fan, but this Intel cooler is quite happy running in open air. You can see some of the cable management here- it’s not quite done.
There’s a certain feeling of elation that comes with the first time you turn on a finished project of any description. In this case, the first boot was exhilarating. But, as it turns out, the project wasn’t quite over.