
After finishing the build, there was still a bit more to fix and a bit more to add. As always, it wasn’t quite perfect the first time.
Faulty Hard Drive Installation
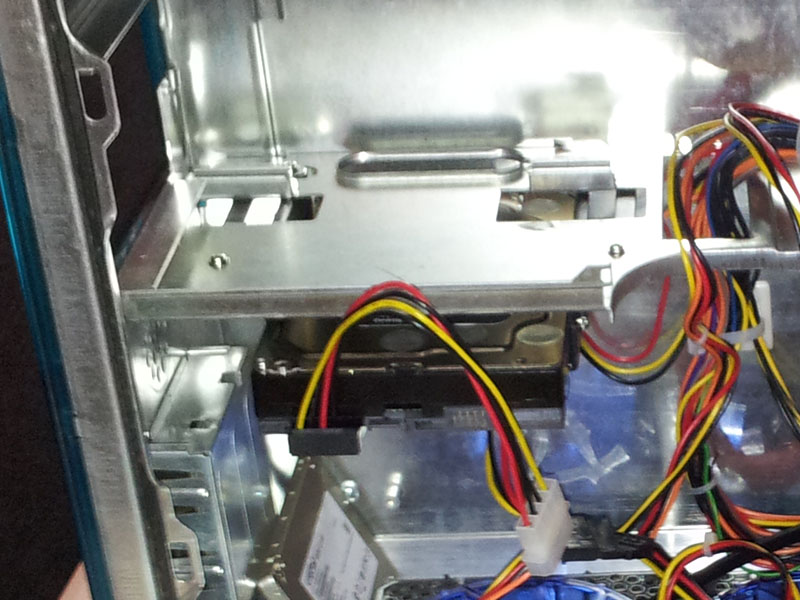
We had to wait to install the hard drive, and we were in for an unpleasant surprise. It refused to fit into the carrier! Because of the way it was bent, it’s slightly too narrow, and installing it into the case bends it inwards even more. Filing and bending the drive carrier helped a little, but I ended up partially installing the carrier, pushing the drive in, then screwing the carrier in all the way. It’s necessary to loosen the drive carrier to get the hard drive in and out, but it works well enough. If someone ever wants to change the drive, it’s not going to be as straightforward as it should be.
SSD Mounting
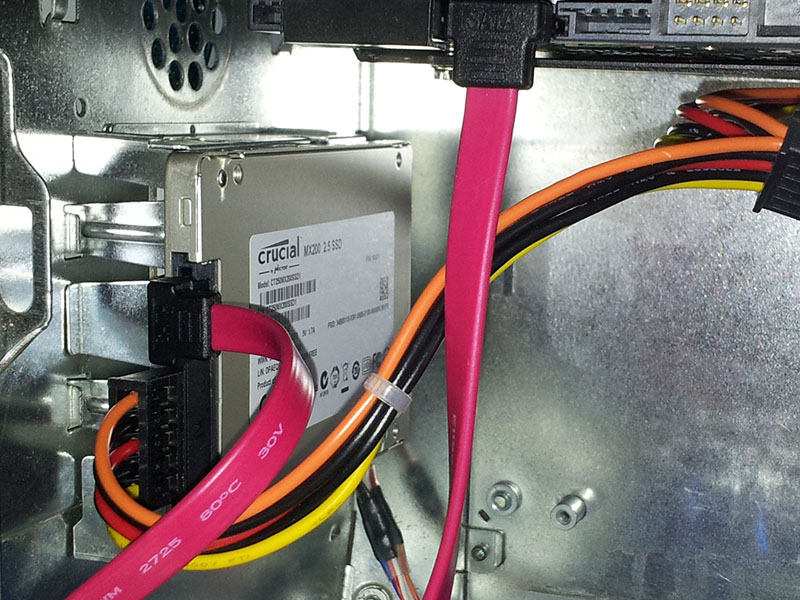
I stuck it to the front panel assembly with double-sided tape. I did have thermal tape for this, but I didn’t use it. It turns out these SSDs don’t get hot enough to bother.
Power Supply Bracket
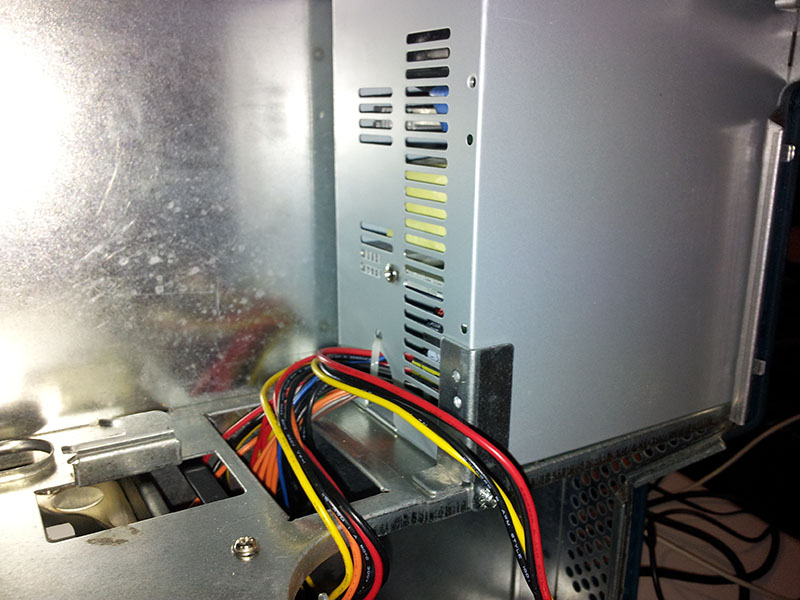
When I installed the power supply, I forgot this little bracket. The holes don’t quite line up, and I’m not sure why, but it gives a little extra security just by being there.
New Front Panel Unit
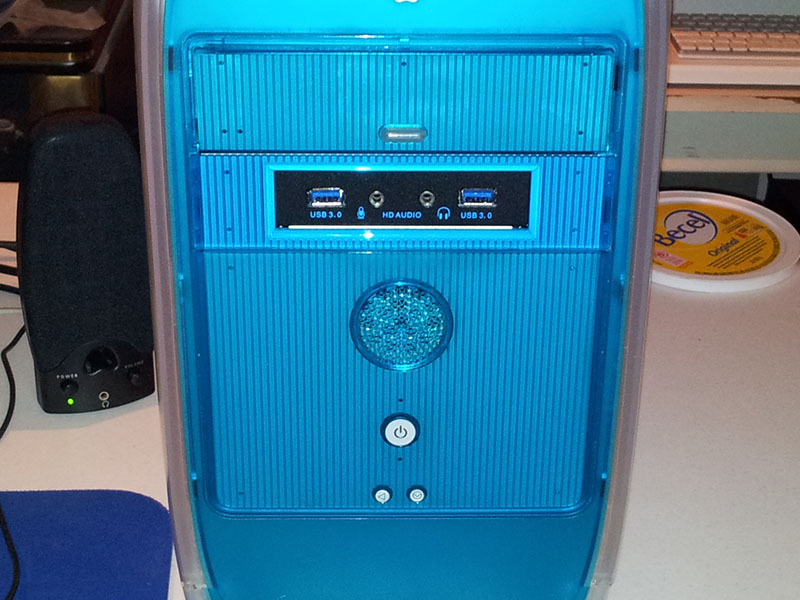
The original front panel unit was partially broken. The card reader refused to write to any card, treating them as read-only, and eventually it started repeatedly connecting and disconnecting from the host. The new front panel unit is dirt simple and has as little as possible to go wrong, providing straight-through connections for USB 3.0 and front panel audio. Because the motherboard has no internal USB 3.0 headers, I had to install a USB 3.0 card to connect the front panel.
With all that taken care of, we could finally call this project done and bring the machine into service.